How to Plant a Professional - Looking Hanging Flower Basket
Zip says "summertime" quite like gorgeous hanging basket flowers. While purchasing a large, bloom-ful handbasket from a nursery or garden eye is certainly the easy way to bring summertime color into your thou, the buy tin can be quite expensive.
 View in gallery
 Did you know that in that location'southward an easy manner to achieve the gorgeous look of a professional person hanging flower handbasket without the hefty price tag? There is! It just takes a few weeks of planning ahead. Read on to learn how to grow a gorgeous hanging planter while likewise learning what the best flowers for hanging baskets are.
 View in gallery
 Choosing the Best Soil for Hanging Baskets
Where are You Hanging It?
If you're hanging them in direct sunlight for several hours a day, then opt for a potting soil that has slow-release fertilizer and wetting agents.
What'southward Available Locally?
You might be limited to options for skillful potting soil at your local stores. Shop effectually, ask landscapers, and if you can't find what you need, shop online.
Expect for Adept Water Retention and Drainage
Definitely choose a potting soil mix that has ingredients to help retain excess h2o but too releases that same h2o when the soil has gone too dry out. This helps control moisture and protects the plants.
Ingredients
- Wetting Agents: Things such as bark and mulch to keep the soil moist
- Fertilizers: Commonly a irksome-release ingredient that feeds the soil over time
- Clays: Tin replicate a lot of the nutrients and minerals you need
- Polymers: Absorbs excess water and releases when soil is too dry
 View in gallery
 DIY Level: Beginner
Materials Needed to Make a DIY Hanging Flower Basket:
- Flower starts (case shows blue cascade petunias and purple Wave petunias)
- Hanging basket with holes on the sides
- Potting mix (NOT soil)
Hanging flowers pots – stride past step guide:
Pace One: Prep Your Flowers
 View in gallery
 Take your flower starts ready to go. This instance shows a combination of petunias – cascade blue (the darker purple blooms; the flower world tends to label majestic as "blue") and wave purple (the fuchsia blooms).
Moving ridge petunias are a brand of petunias highly recommended for hanging flower baskets because they maintain a lovely, full, not-gangly shape over the course of their life and don't require expressionless-heading. They are more expensive than other petunias, however.
 View in gallery
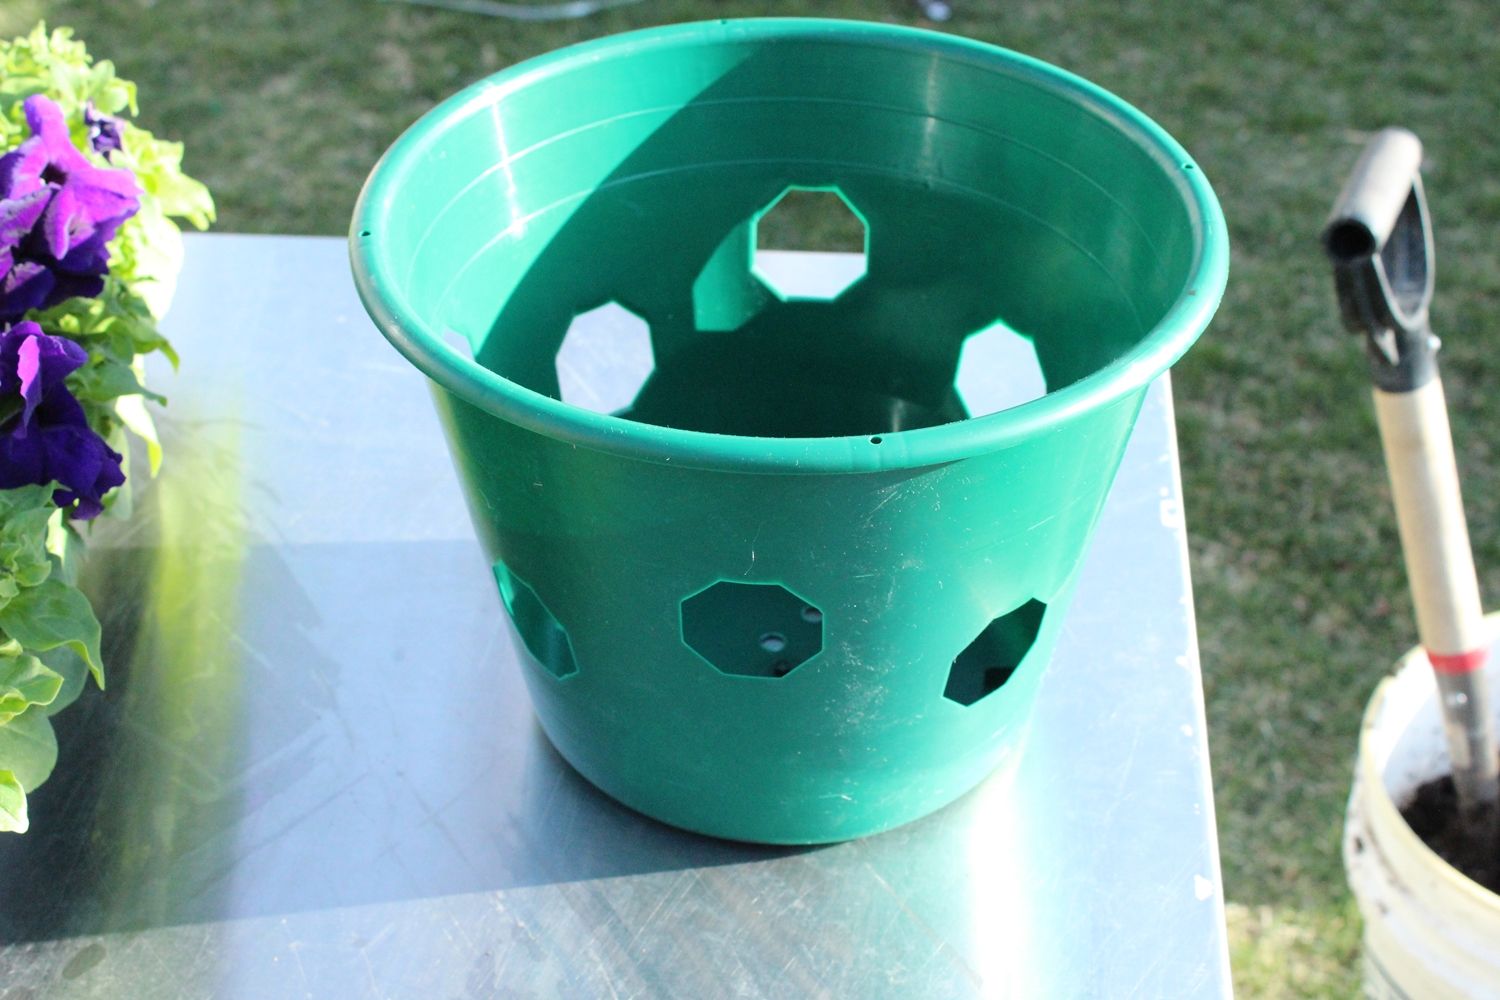
 Step Two: Grab Your Basket
Have your plastic hanging basket ready to go besides. Nosotros recommend this kind, with holes on the sides, in whatsoever gallon size fits your space. They range from 1- to 6-gallon sizes, with varying numbers of planting slots.
 View in gallery
 Footstep Iii: Get the All-time Soil Ready
Lastly, have your potting mix prepare to get. Great soil medium is imperative in the success of a hanging handbasket, and you lot'll desire to choose potting mix rather than potting soil for a few reasons: (1) potting soil is dirt, whereas potting mix is a soil-less growing media designed for containers, (2) a high quality potting mix has larger particles than soil particles, which is key in containers because it makes the growing medium capable of holding both more air and water than actual soil. This allows for the circulation of fresh air and water without drowning your container plants.
 View in gallery
 Step Four: Fill Saucepan
Pour some potting mix into a bucket, wet it downwards, and stir it. It should be wet enough to be sticky, but not quite mud.
 View in gallery
 Pace Five: Fill up the Handbasket
Fill up the bottom of your hanging basket upwardly to the lesser of your commencement row of side slots.
 View in gallery
 Smoothen the soil then pat information technology down gently. (Note: Although I utilize the word "soil" for simplicity in this tutorial, I am actually referring to potting mix.)
 View in gallery
 Step Six: Add Bloom Starts
Working on just the bottom row of side slots, add together in your bloom starts. It'southward easiest to work with the flower, feeding it into the pot from the outside in (if the soil base of the start is small plenty; otherwise, you'll need to carefully feed the flower plant through the slot from the inside).
 View in gallery
 Work the flower/soil in until the base of operations of the blossom is even with the side of the hanging basket. Advisedly spread the roots.
 View in gallery
 Step Vii: Contune Adding Starts
Feed-in the flower starting time on the slot direct across from the ane you just did. If you are creating a combination basket, pay attention to which flower you're putting where. This example shows two purple moving ridge petunias planted directly across from each other.
 View in gallery
 Two bluish cascade petunias were added into the remaining 2 slots on the bottom row. These two flowers are also straight across from each other. This will create a lovely combination effect in the blooming basket, so the colors won't be split directly down the center.
 View in gallery
 Step Eight: Add More Potting Mix
Gently add more than potting mix into the hanging basket, on top of the roots, up to the bottom of the second row of side slots.
 View in gallery
 Your pot volition look something like this, with starting time-row roots fully covered and soil gently and evenly patted down.
 View in gallery
 Step Ix: Make Your 2d Row
Echo the planting method of your flower starts on this second row. Over again, if you're creating a combination basket, alternate the type/color of flowers as you plant them in the slots.
 View in gallery
 You'll notice a gap between the base of operations of the blossom start and the top of the planting slot. That's okay, considering the moistened soil layers volition embrace those upwards and fill up them in without too much trouble.
 View in gallery
 Step Ten: Add More Soil
When the 2nd layer is planted and complete, carefully add more potting mix to an inch or two below the peak rim of your hanging handbasket.
 View in gallery
 Gently pat down the soil. Recollect that when you lot h2o this basket, the potting mix will shrink a fleck, then y'all want to accept enough in your handbasket from the kickoff that this won't be a trouble and expose your bloom get-go roots and/or starve them of their needed nutrients.
 View in gallery
 Pace Eleven: Brand Holes
Make holes big enough for planting flower starts in this top layer.
 View in gallery
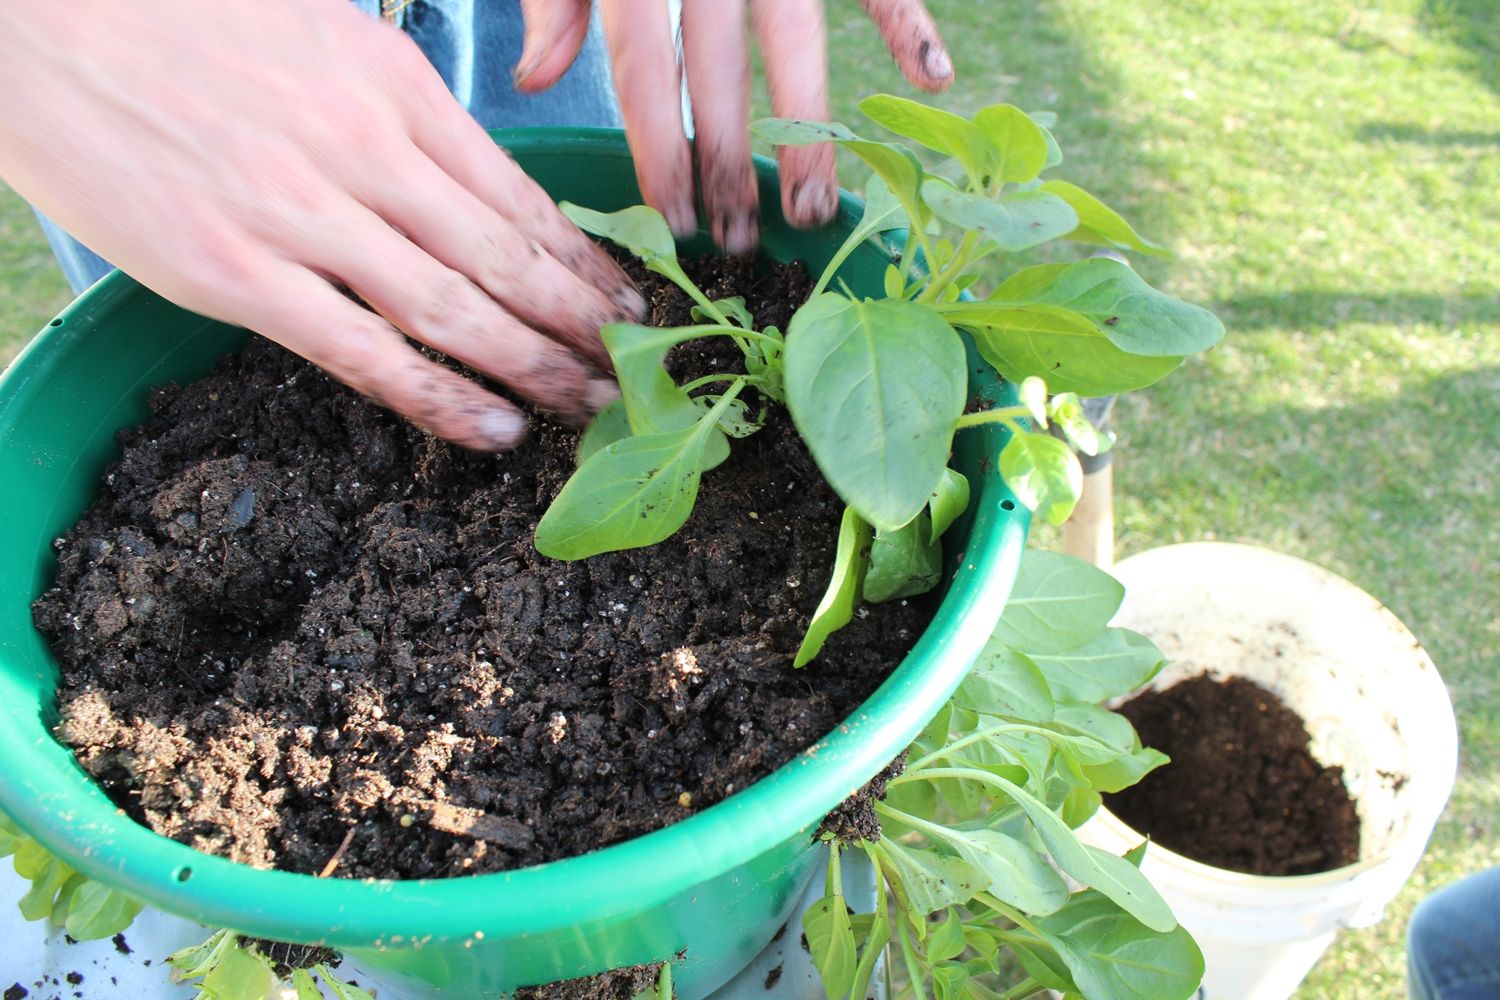
 Pace Twelve: Add More Starts
Constitute the starts, taking care to keep roots covered. Add a little more than potting mix effectually each blossom get-go as needed.
 View in gallery
 In this instance's 2-gallon pot, we planted iv flower starts in the top, two each of blueish cascades and regal waves, both types direct across from each other.
 View in gallery
 Step 13: Add together the Wire
Feed the wire hangers into the pre-punched holes on your hanging basket.
 View in gallery
 Taking intendance to keep the wire lengths even, bend them back against themselves and secure past twisting the wire ends around the wires themselves several times.
 View in gallery
 Viola. There's your hanging basket. Be sure to add container-focused fertilizer to your plants ii to three times a week, post-obit the dilution ratios on your fertilizer. Also, these flowers benefit from having the fertilizer applied to the leaves occasionally, so i of the weekly fertilizations include a sprinkling over all the foliage. On other days in between fertilization, simply h2o the basket.
 View in gallery
 This photo shows the growth in the flower starts near two weeks later potting.
 View in gallery
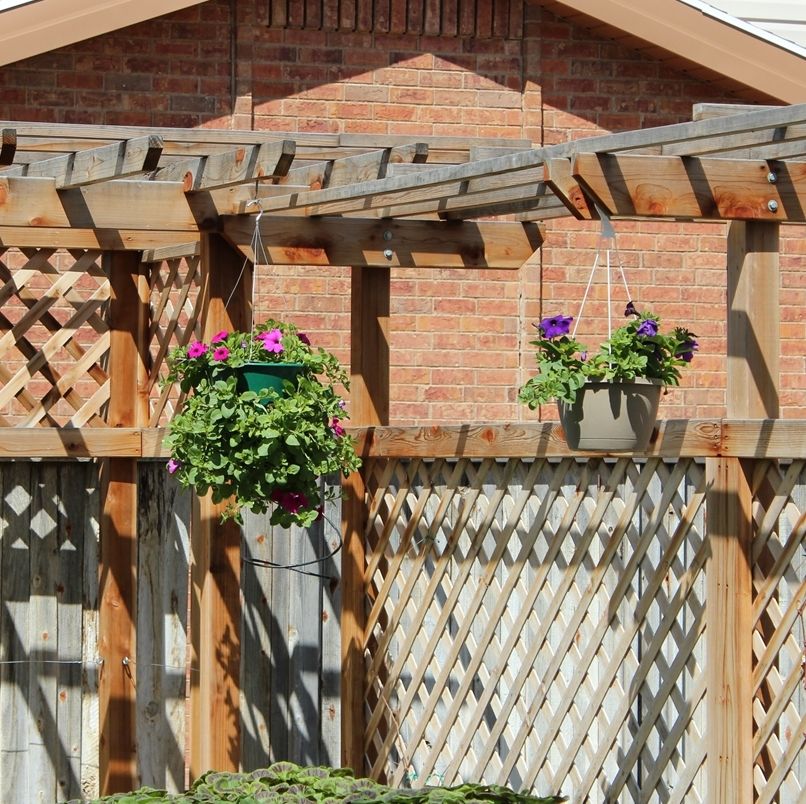
 You can begin to meet, even after just two weeks, the difference in fullness and blooming of a side-slotted hanging basket versus a traditional hanging flower pot.
 View in gallery
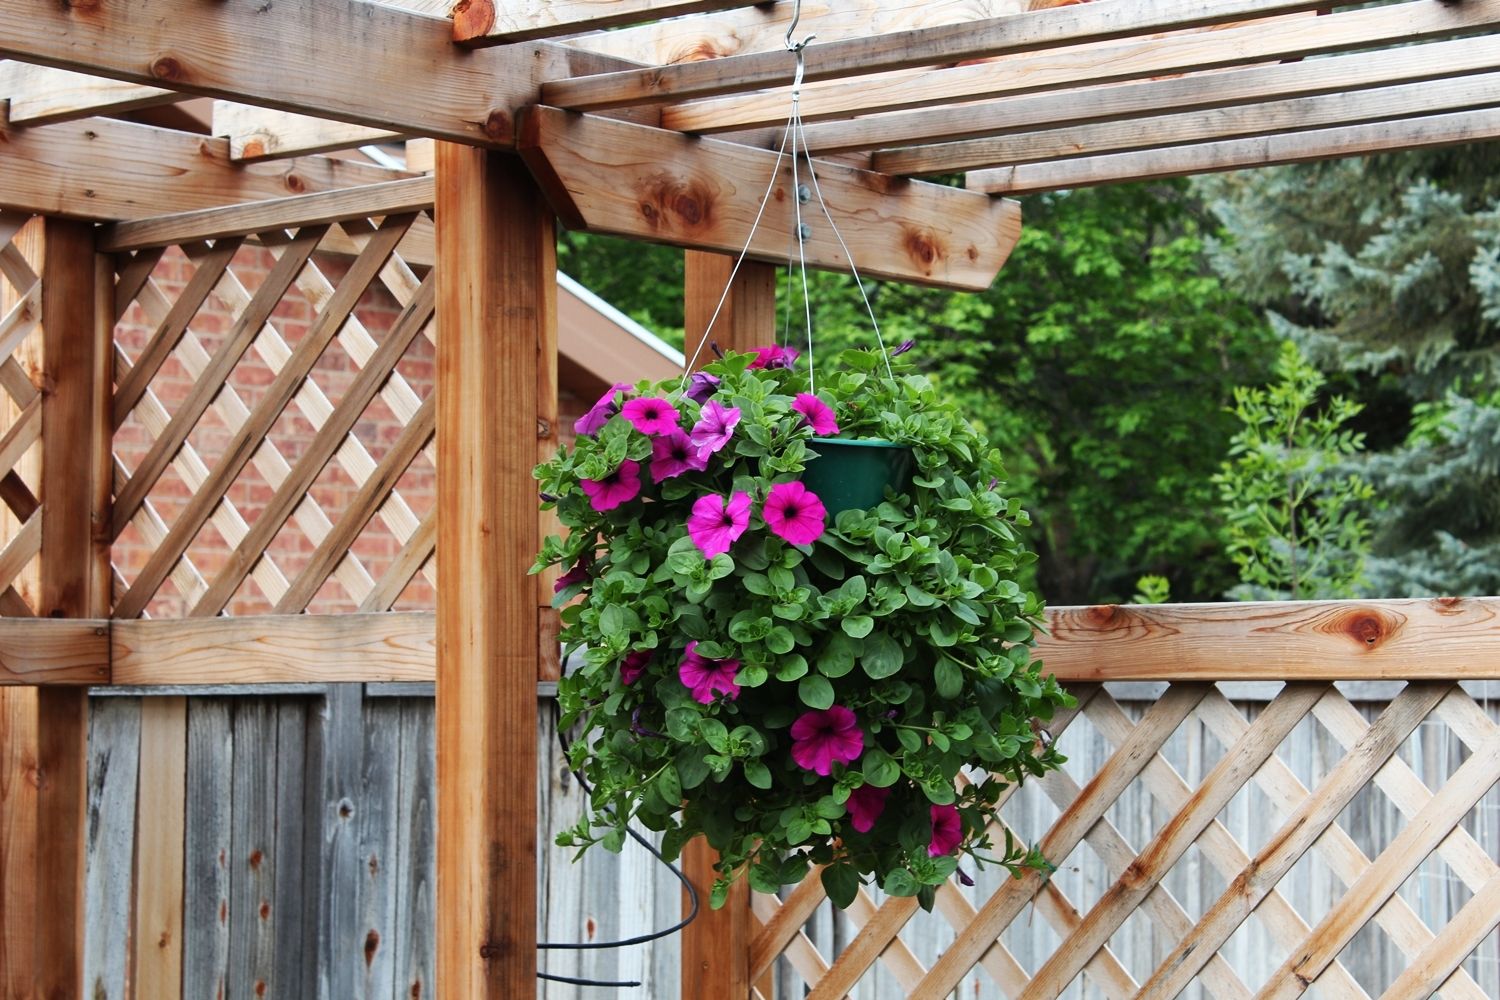
 This photo shows the growth in bloom starts virtually three or four weeks subsequently potting. Find its fullness and filling in.
 View in gallery
 Although the blooms aren't completely total, that's due more in function to the immaturity of the flower starts to brainstorm with than anything else. Based on the number of minor buds forming, we await major blooming in the adjacent two weeks.
 View in gallery
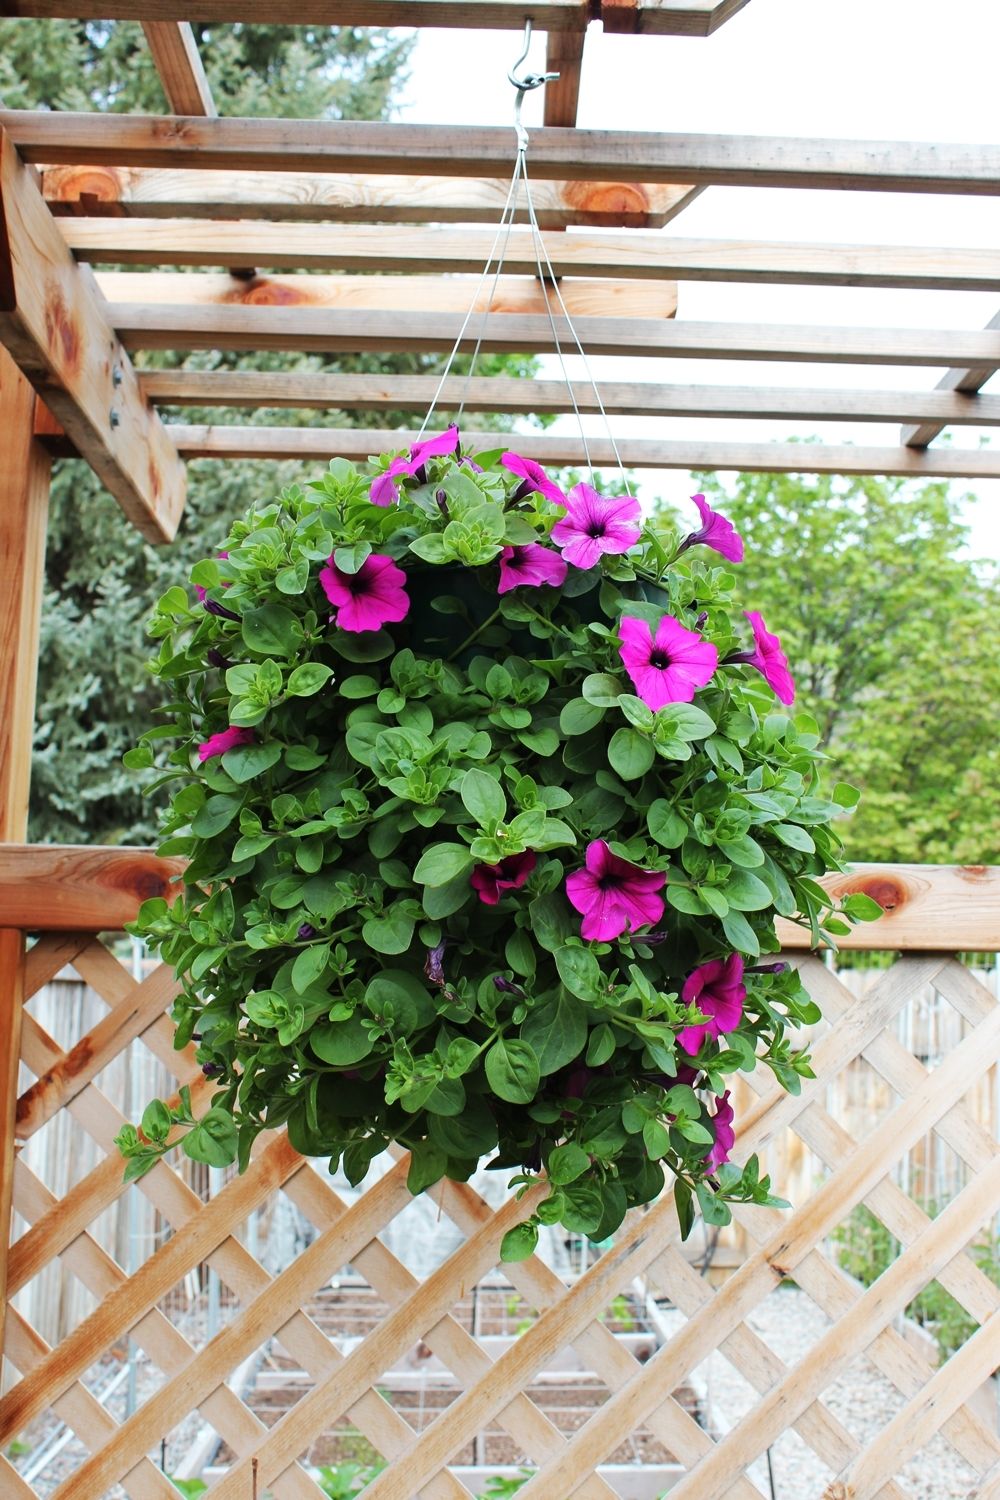
 This photograph shows some other hanging basket, planted at the same time as the tutorial, with simply imperial wave petunias. This photograph was taken two weeks after potting.
 View in gallery
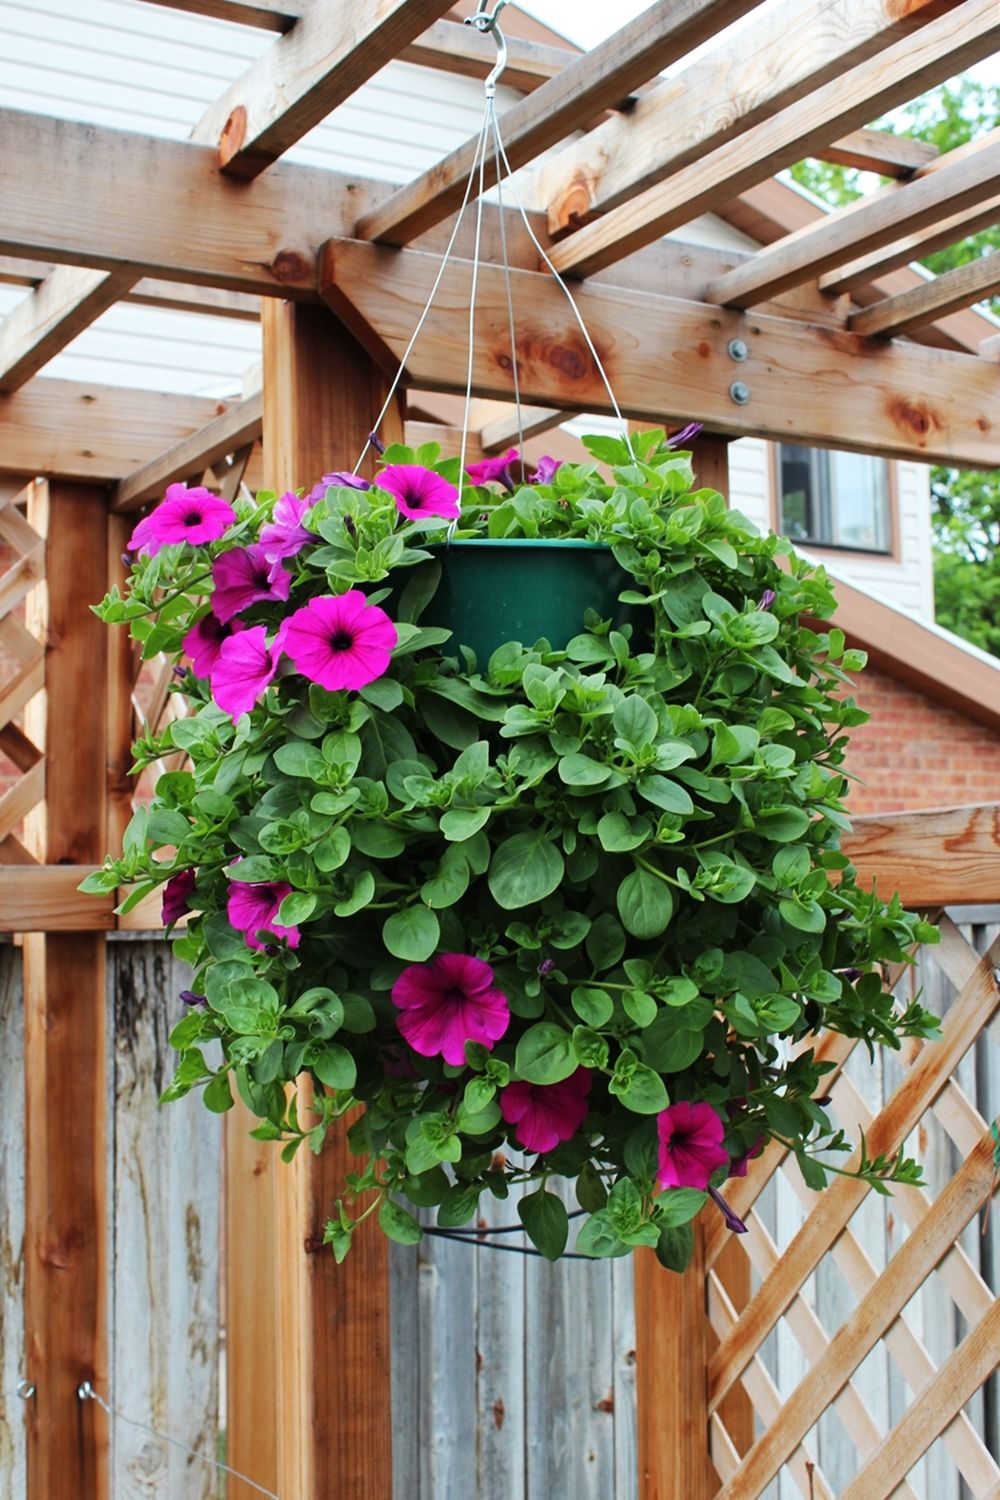
 Yous can come across the beautiful shape and silhouette of the wave brand of petunia for hanging baskets in this photograph, taken just 3 or four weeks later on potting.
 View in gallery
 The greenish pot has well-nigh disappeared behind the cute flowering. (Annotation: Learn how to create a grape arbor, seen in the groundwork, in this step-by-step tutorial).
FAQ
What'southward the all-time flowers to put in a hanging handbasket?
Fuchsias, petunias, lobelia, and geraniums are the near popular.
When should you lot start hanging baskets?
After your final frost.
What month do you constitute hanging baskets?
Start the inside 10-12 weeks prior to your concluding frost. Then hang them outside.
 View in gallery
 We promise you've constitute this tutorial helpful in your creating beautiful hanging baskets for your own yard and garden. Good luck, and happy planting!
Source: https://www.homedit.com/hanging-flower-baskets/
0 Response to "How to Plant a Professional - Looking Hanging Flower Basket"
Post a Comment